Stage 1 - Drawing to the screen
You should already have everything you need installed: a browser, a text editor, and an image editor. The apps that I'm going to use and that I recommend are Google Chrome, Sublime Text, and GIMP.Getting started
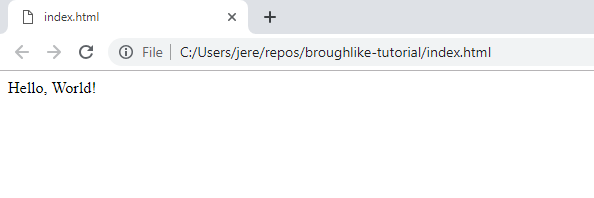
First open your text editor and create a file called index.html, type inHello World!Open the file in your chosen browser. Be aware that this isn't valid HTML but the browser will render it just fine anyway.
Let's replace our "Hello World!" text with the next 6 lines, which are all you need to draw to the screen:
index.html
canvasscriptcanvasThree lines might seem excessive for a single draw operation, but the first two lines are boilerplate. We'll only need to write them once for the whole project.
Our little black rectangle might not look like much yet, but that's our player character! Sadly the player doesn't move. We just need a little bit more code to handle the player's current position (I'll be highlighting removed lines with red and added lines with green).
index.html
xyThen the
onkeypressxyFinally, the
fillRectsetInterval It works but... there's no code to clear the character aftering rendering though. Let's do that at the beginning of every draw call.
index.html
One problem is the canvas is not aligned properly, it's very small, and we don't know where it ends. Let's add an outline and center the canvas. To do this, we're going to add a
styleindex.html
A couple more lines at the very top to make this truly valid HTML. The
doctypetitleindex.html
htmlheadbodyGetting organized
Let's lay the groundwork for the rest of the project by creating a couple folders and empty files. Keep in mind, this is only to help us stay organized. There's no requirement to have a specific directory layout. If we keep all of our code in one file, it'll get really hard to dig through. But it's certainly not impossible. I know a major roguelike project that consists of a single 80,000 line python file.Create a folder called js where all our script files will go and one called sounds where our sounds will go.
Go ahead and create six empty JavaScript files in the new js folder:
- game.js
- map.js
- tile.js
- monster.js
- util.js
- spell.js
scriptindex.html
I'll be defining everything in these files globally and without using any sort of namespacing or modules. This makes the code shorter, but potentially harder to track down. One easy alternative is defining the entire file as an object like this:
game.js
game.someFunction()Let's move our
canvasctxindex.html
index.html
game.js
We want to dynamically size the canvas based on some constants. This will make it really easy to tweak the design of the game later, making the grid size tiny or huge instantly.
game.js
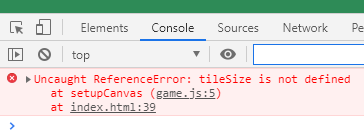 You should get an error. Uh oh. We forgot to define a few variables. Let's do that now.
index.html
That should fix the error we saw. Now we can also utilize some of these variables in the draw call.
index.html
Drawing sprites
Finally, let's replace our little rectangle with a real sprite. You could make the whole game in rectangles if you wanted (it worked for Mike Bithell), but I'm not talented enough for that.
Open up your favorite image editor. I'm going to use GIMP.
Here are some setup tips specific to GIMP:
Draw your character sprite in the first 16 by 16 pixel tile.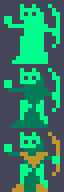 Draw your a corpse sprite in the next spot over. I cheated a bit by rotating the a copy of the first sprite 90 degrees.
 The last step after drawing each sprite is exporting your spritesheet by selecting File > Export and exporting to a file name spritesheet.png in your game's directory.
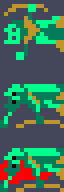
As a sanity check, here's what your spritesheet should look like at this point.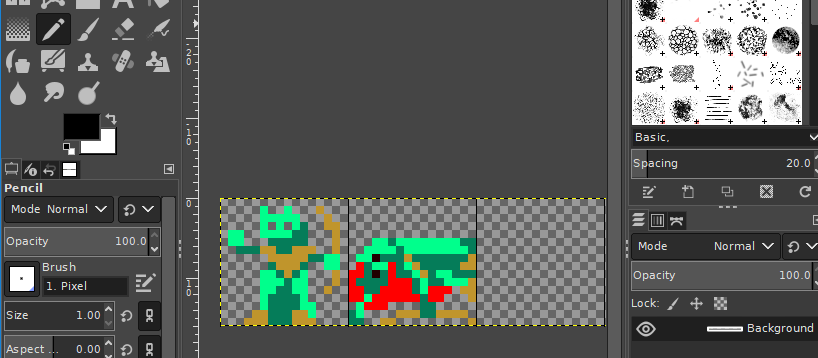
Open up your favorite image editor. I'm going to use GIMP.
Here are some setup tips specific to GIMP:
- Select File > New and create a new file that's 512 by 16 pixels. Make sure your starting background is transparent (under Advanced Options choose Fill with: Transparency). Normally, a spritesheet is arranged in big square but it's a little simpler to make it a long line of sprites.
- A visible grid will help us distinguish our sprites. Select Image > Configure Grid, and configure the spacing to be 16 pixels in both directions. Then select View > Show Grid.
- Configure your Eraser Tool to use Hard edge. Otherwise, you won't fully erase things.
- Select the Pencil Tool and make sure your Brush setting is configured to be Size: 1.
- One extra, optional tip: sprites can be hard to see on the checkerboard pattern of transparent layers, so try adding an extra background layer filled with a darkish grey color.
- Fill in a basic shape with 1 or 2 colors
- Add some shading
- Finish details and highlights
Draw your character sprite in the first 16 by 16 pixel tile.
Draw your a corpse sprite in the next spot over. I cheated a bit by rotating the a copy of the first sprite 90 degrees.
The last step after drawing each sprite is exporting your spritesheet by selecting File > Export and exporting to a file name spritesheet.png in your game's directory.
As a sanity check, here's what your spritesheet should look like at this point.
Let's use the sprite we just drew. This code will load the PNG file.
index.html
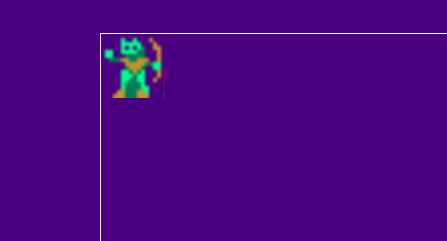
We're going to draw a sprite from that spritesheet now instead of drawing a rectangle. Let's try the simplest way to call
drawImageindex.html
drawImageIt sounds bad, but it's pretty simple once you see the purpose. The first argument is the name of the image. The last four arguments are totally identical to the ones we used in
drawRectOne image, 4 source variables, and 4 destination variables.
ctx.drawImage(image, sx, sy, sWidth, sHeight, dx, dy, dWidth, dHeight);Since we're going to be making this same call repeatedly, let's move this code out to a new function called
drawSpritedrawindex.html
game.js
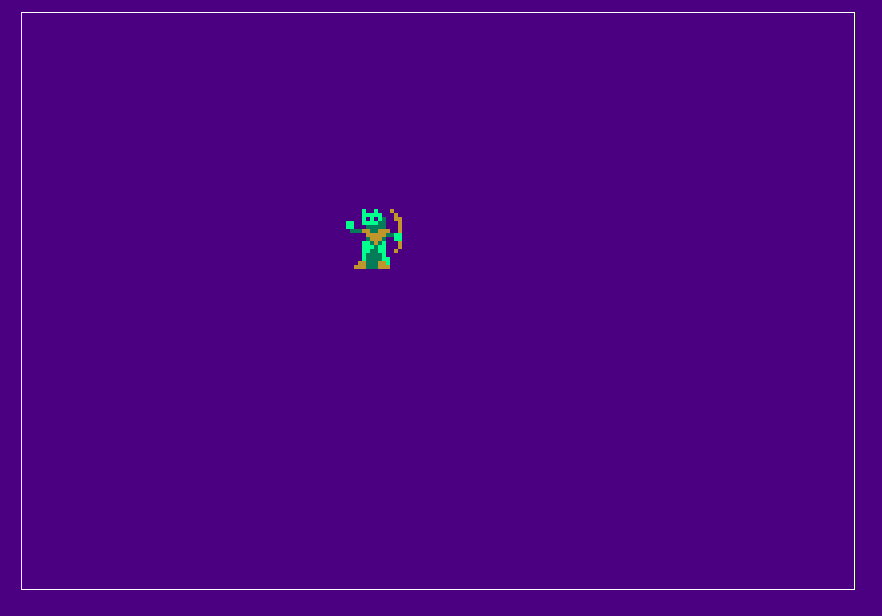
 Now one more hiccup. Our sprite looks like poop. The reason is the way browser scales images by default. It makes sene for photos but not for pixel art. For years, displaying scaled pixel art in browsers was basically impossible. Luckily we only need one line to correct it.
game.js
Take heart that we're pretty much past all of that. Our entry point into drawing stuff on the screen is to load images, grab a canvas element, get its context, and start calling draw operations on it. A lot of boilerplate right? But the good news is that we don't need any more hooks into the DOM and the rest of the code we write will be fairly self contained.
In the next section, we'll generate a map.